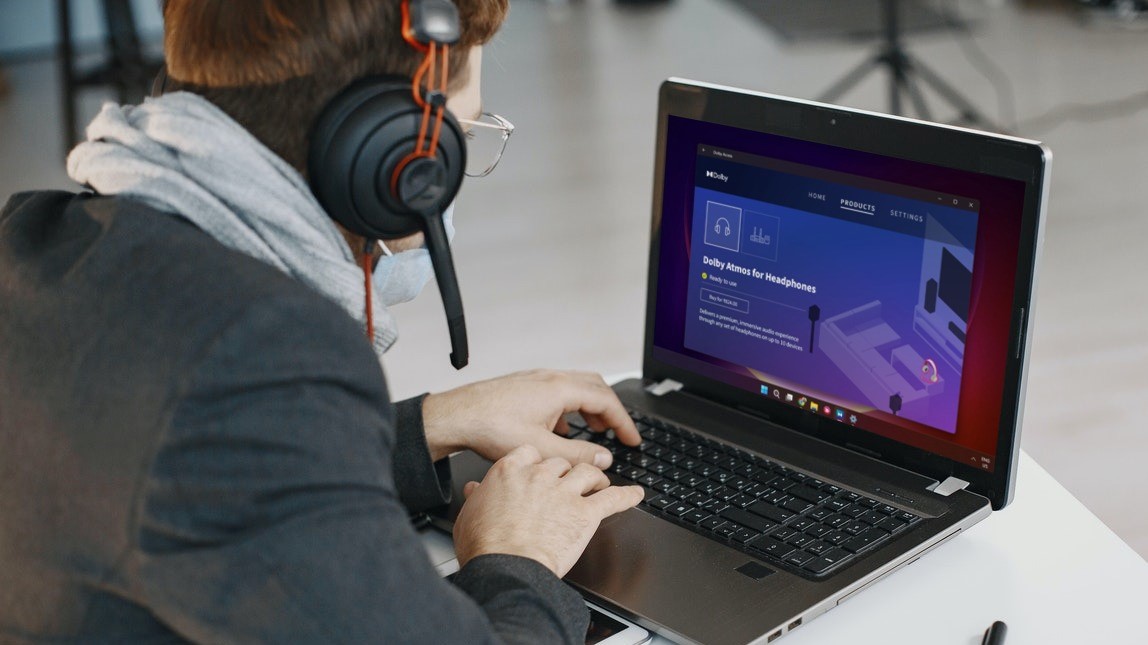
While the reason behind this could easily range from misconfigured settings to corrupted drivers, troubleshooting the issue isn’t too difficult. Below are some troubleshooting tips you can employ to fix Dolby Atmos on Windows 11.
1. Use Hardware That Supports Dolby Atmos
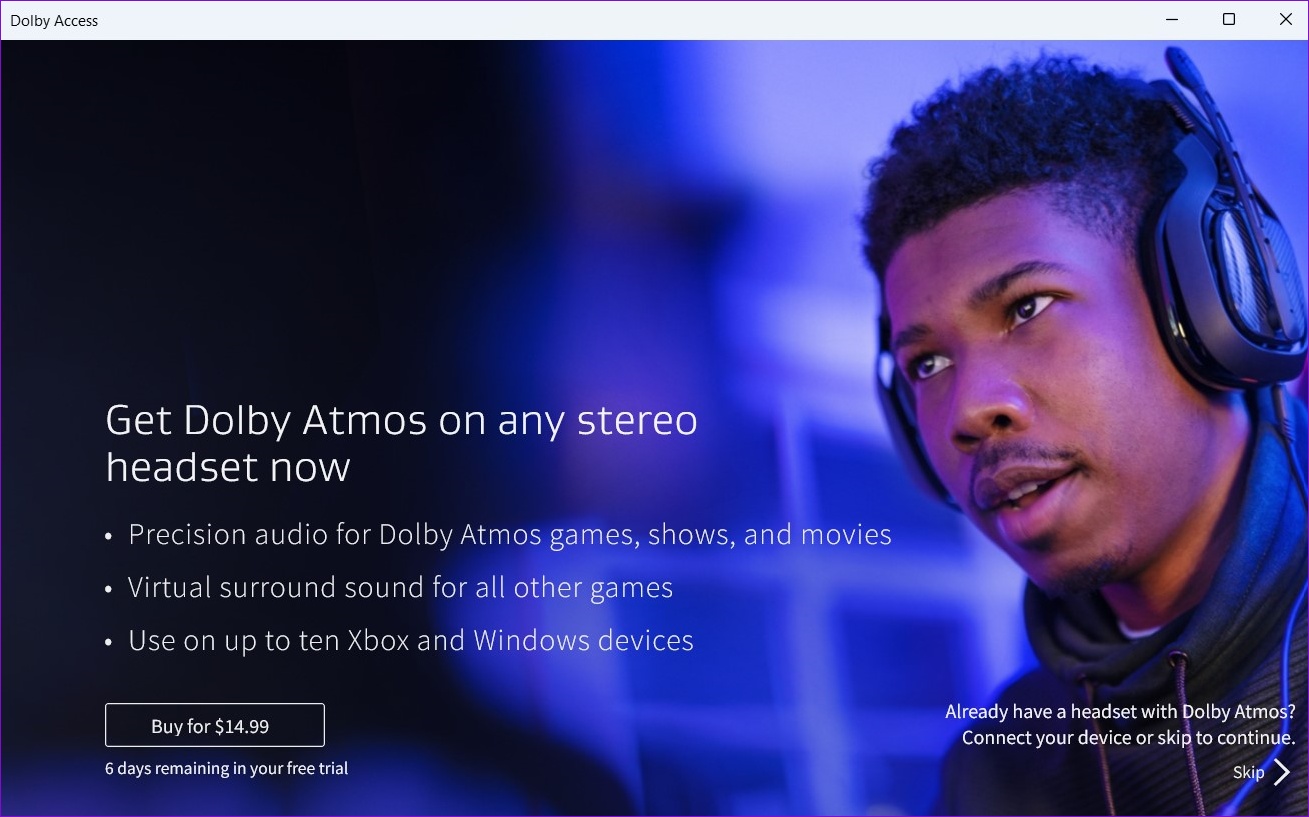
Dolby Atmos creates a surround sound effect that puts you right in the middle of the action. It accomplishes this by mapping sounds to virtual locations in 3D space and transferring this data to your hardware. To experience Dolby Atmos in the best possible way, you need to use specially calibrated speakers or headphones. This could include ceiling-mounted speakers or headphones that support Dolby Atmos. Alternatively, if you don’t have a speaker or headphones that support Dolby Atmos, you can purchase the ‘Dolby Atmos for Headphones’ from the Dolby Access app – it’s a one-time purchase. The app promises to emulate virtual Dolby Atmos sound on any pair of headphones.
2. Run Audio Troubleshooter
Windows 11 includes a number of troubleshooters that can help you deal with various system-level issues. If Dolby Atmos is not working, you should start by running the Audio troubleshooter on Windows. Here’s how. Step 1: Click the search icon on the Taskbar, type troubleshoot settings, and select the first result that appears.
Step 2: Click Other troubleshooters.
Step 3: Click on the Run button next to Playing Audio and follow the on-screen instructions to finish the troubleshooting process.
After running the troubleshooter, check whether you can get Dolby Atmos working.
3. Update Sound Drivers
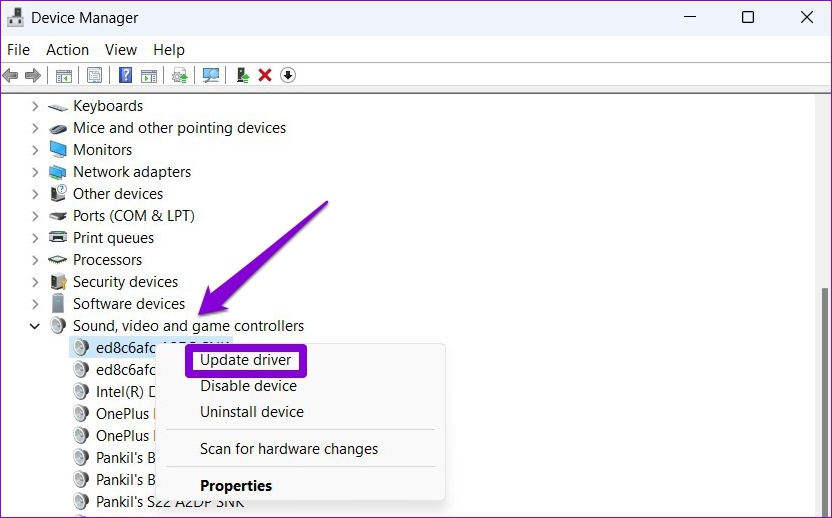
Outdated sound drivers can also cause such problems. To fix it, you can update the relevant drivers from the Device Manager. Here’s how. Step 1: Right-click on the Start icon and select Device Manager from the menu.
Step 2: Double-click on ‘Sound, video and game controllers’ to expand it. Then, right-click on your device and select Update driver.
From there, follow the on-screen instructions to update the driver.
4. Roll Back Sound Drivers
If problems with Dolby Atmos started after a recent driver update, you can revert to the previous driver to fix the issue. Here’s what you’ll need to do. Step 1: Press the Windows key + R to open the Run dialog box. Type in devmgmt.msc in the box and press Enter.
Step 2: Expand ‘Sound, video and game controllers.’ Right-click on your device associated with Dolby Atmos and select Properties.
Step 3: In the Properties window, switch to the Driver tab and click on Roll Back Driver.
Step 4: Select your reason for the rollback and click on Yes to proceed.
Restart your PC to allow Windows to restore your driver and check if Dolby Atmos works.
5. Allow Applications to Take Exclusive Control
If the apps do not have exclusive control over your default playback device, you won’t be able to make the best of Dolby Atmos. Here’s how you can fix that. Step 1: Right-click on the speaker icon on the Taskbar and select Sound settings from the menu that pops open.
Step 2: Scroll down to the Advanced section and select ‘More sound settings.’
Step 3: Right-click on your audio device and select Properties.
Step 4: Under the Advanced tab, check the boxes that read ‘Allow applications to take exclusive control of this device’ and ‘Give exclusive mode applications priority.’ Lastly, hit Apply followed by OK.
6. Repair or Reset Dolby Access App
Dolby Access app on Windows allows you to personalize your audio experience with custom profiles. However, if the app is not working correctly, you may encounter issues with Dolby Atmos on Windows. Here’s how you can repair the Dolby Access app on Windows 11. Step 1: Right-click the Start icon and select Installed apps from the list.
Step 2: Locate the Dolby Access app on the list. Click the three-dot menu next to it and select Advanced options.
Step 3: Scroll down to the Reset section and click on Repair.
Reset the app to its default settings if the issue persists. This is as effective as reinstalling the app.
7. Perform System Restore
System Restore is a useful utility that periodically creates a backup of your entire system. If the issue with Dolby Atmos has started occurring fairly recently, you can perform a system restore to revert to a point when it was working fine. Here’s how. Step 1: Click on the Windows Search icon, type create a restore point, and select the first result that appears.
Step 2: Under the System Protection tab, click on the System Restore button.
Step 3: Click on Next.
Step 4: Select the restore point when Dolby Atmos was working.
Step 5: Review all the details one more time before hitting Finish.
Wait for your PC to restart and restore to the specified point. After that, Dolby Atmos should work fine.
Sounds Good
Hopefully, one of the above solutions has helped you fix issues with Dolby Atmos on Windows 11. However, if you’re still not satisfied with the audio quality, there’s a lot you can do to improve sound quality on your Windows 11 PC. The above article may contain affiliate links which help support Guiding Tech. However, it does not affect our editorial integrity. The content remains unbiased and authentic.


