You may use the Command Prompt or the Registry Editor to disable the ‘Show more options’ context menu. In this post, we’ll go over both methods in detail. So, without further ado, let’s get right to it.
1. Revert to Old Context Menu Using Command Prompt
Command Prompt is a command-line interpreter that lets you perform various complicated tasks on your PC with a few text commands. You can use it to disable the ‘Show more options’ menu and revert to the classic Windows 10 context menu. As intimidating as it may sound, the process only requires you to run a single command. Here are the steps you can follow. Step 1: Click the search icon on the Taskbar or press the Windows key + S to open the search menu. Type command prompt in the box and select Run as administrator.
Step 2: Select Yes when the User Account Control (UAC) prompt appears.
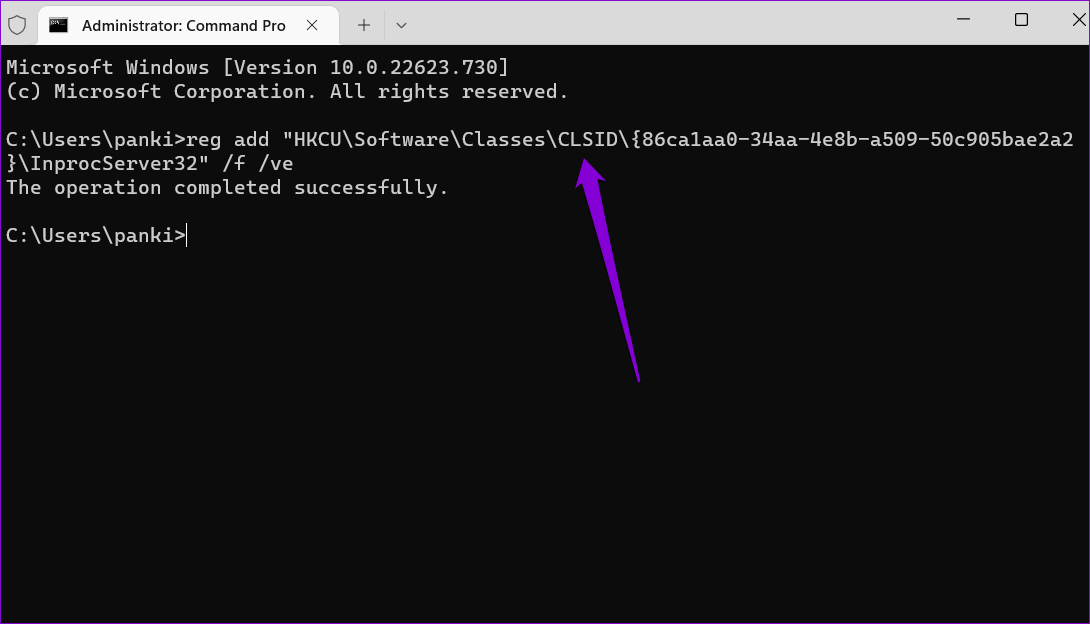
Step 3: In the console, paste the following command and press Enter:
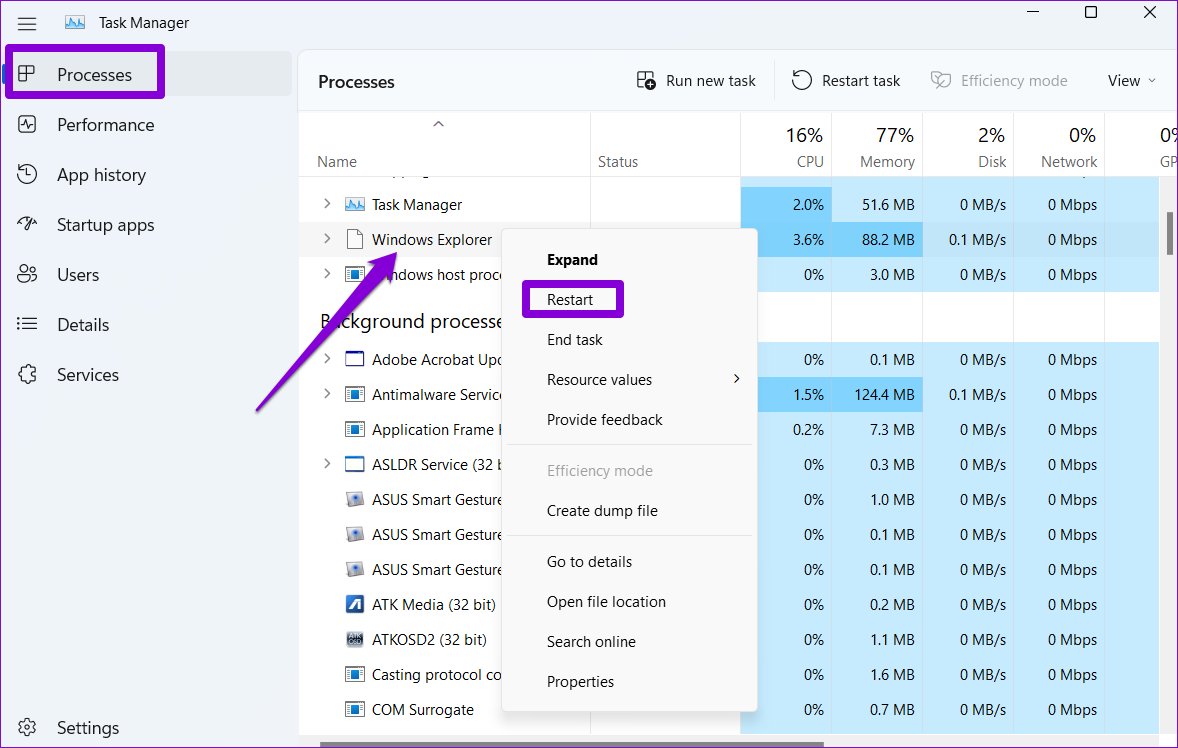
Once you run the above command, you should see a message that says, ‘The operation completed successfully.’ You’ll have to restart your PC for changes to take effect. Alternatively, you can also restart the Windows Explorer process to apply changes. Press Ctrl + Shift + Esc on your keyboard to quickly launch the Task Manager. On the Processes tab, locate the Windows Explorer process, right-click on it and select Restart.
Your Taskbar will disappear for a brief moment before reappearing. After that, you should see an old context menu when you right-click on a file or folder. If you ever change your mind and want to return to the ‘Show more options’ menu in Windows 11, run the following command in Command Prompt and restart your PC.
2. Revert to Old Context Menu With Registry Editor
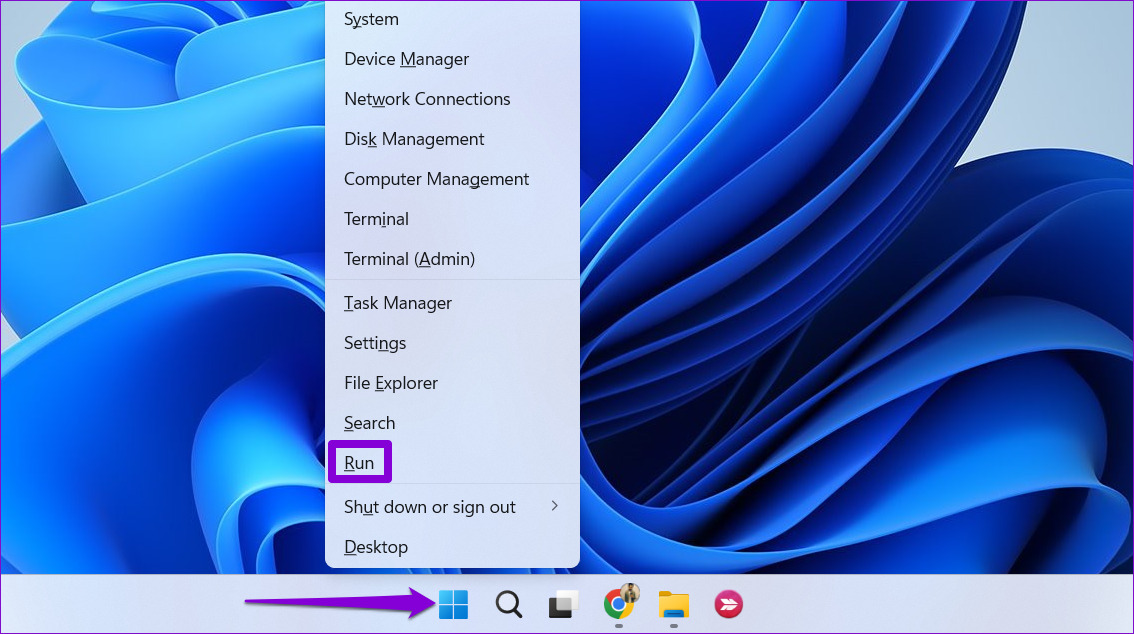
Another way to disable the ‘Show more options’ menu in Windows 11 is to use the Registry Editor. For that, you’ll need to create a couple of registry keys. In most cases, it’s preferable to use the previous method as editing registry files manually is risky. Restoring your system to its working state might prove difficult if something goes wrong. However, if you’re familiar with the Registry Editor, you can use the following method to return the old context menu in Windows 11. Make sure you backup registry files or create a restore point before proceeding with the changes below. Step 1: Right-click on the Start icon or press the Windows key + X to open the Power User menu and select Run from the resulting menu.
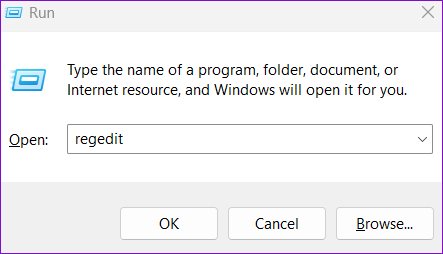
Step 2: Type regedit in the Open field and press Enter.
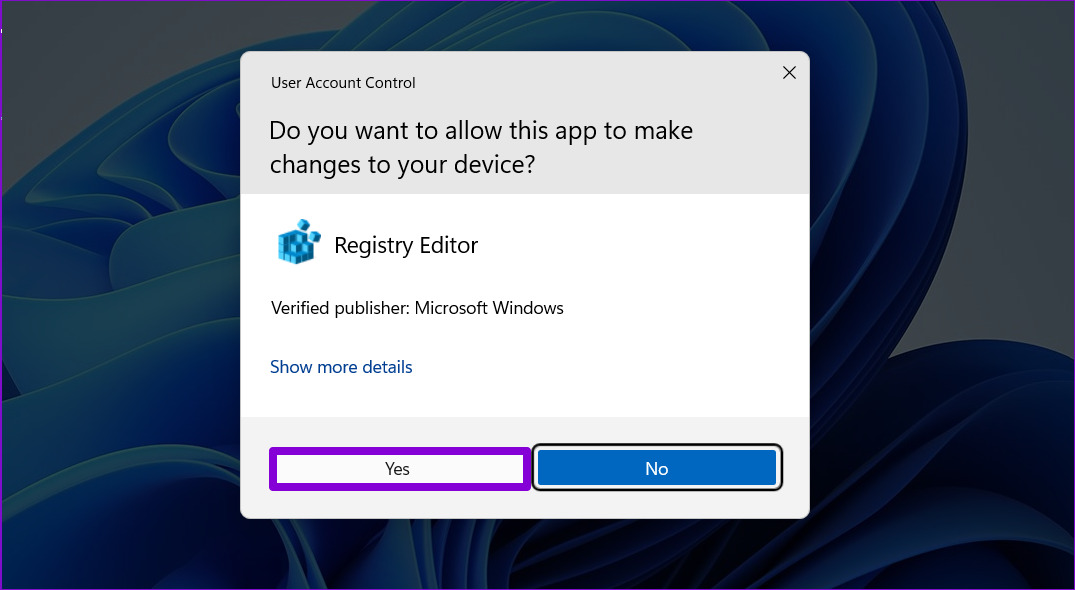
Step 3: Select Yes when the User Account Control (UAC) prompt appears.
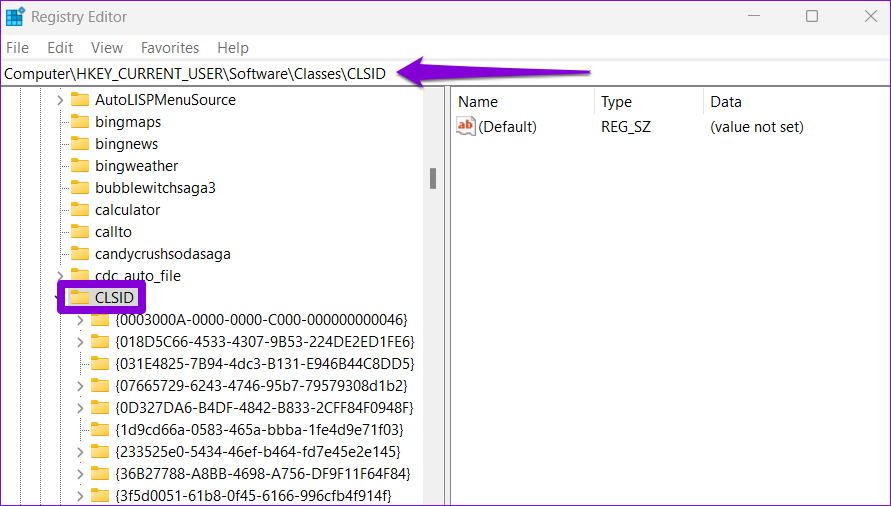
Step 4: In the Registry Editor window, paste the following path in the address bar at the top and press Enter. This will take you to the CLSID key.
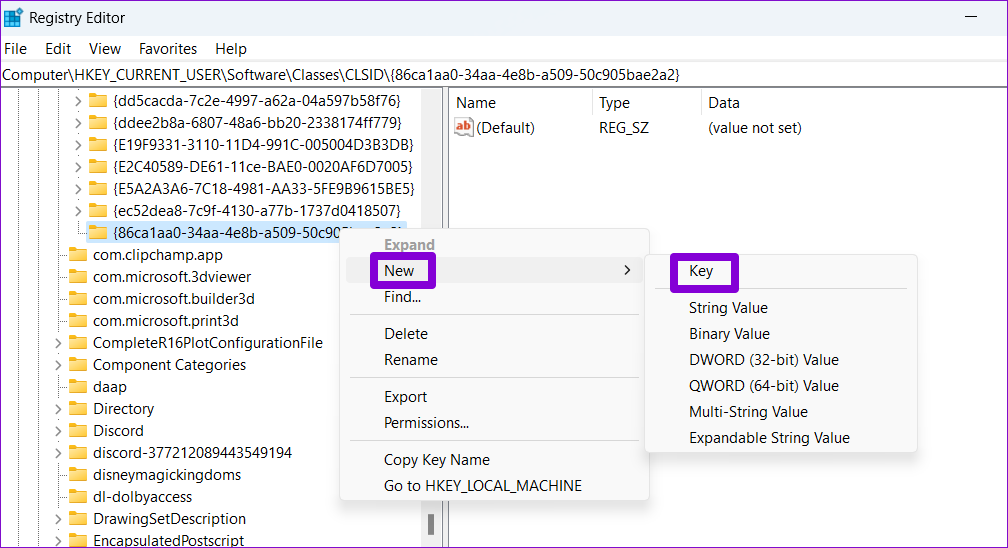
Step 5: Right-click on the CLSID key, go to New and select Key. Give it the following name.
Step 6: Right-click on the newly created key, go to New and select Key. Name it InprocServer32.
Step 7: Within the InprocServer32 key, double-click the Default value on your right. Step 8: In the Edit String window, leave the Value data field blank and click OK.
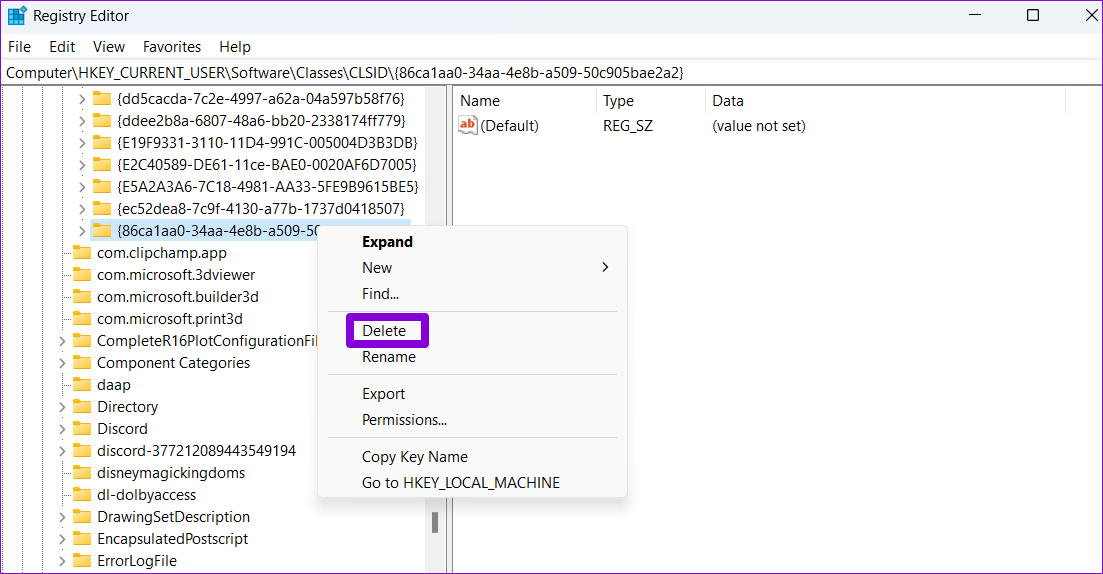
After you complete the above steps, restart your PC. Following that, you should see the old context menu when you right-click on a file or folder on Windows. If you decide to undo the above change at any point, repeat the same steps and expand the CLSID key. Then, right-click on the following key and select Delete. Select Yes when the confirmation pop-up appears.
Keep It Classy
Using the classic context menu in Windows 11 should help you save some clicks. Aside from the methods listed above, there are third-party tools that can help you disable the new Windows 11 context menu. However, it is preferable to use native methods whenever possible. Let us know in the comments which method you’ll use to disable or re-enable the ‘Show more options’ context menu in Windows 11. The above article may contain affiliate links which help support Guiding Tech. However, it does not affect our editorial integrity. The content remains unbiased and authentic.


