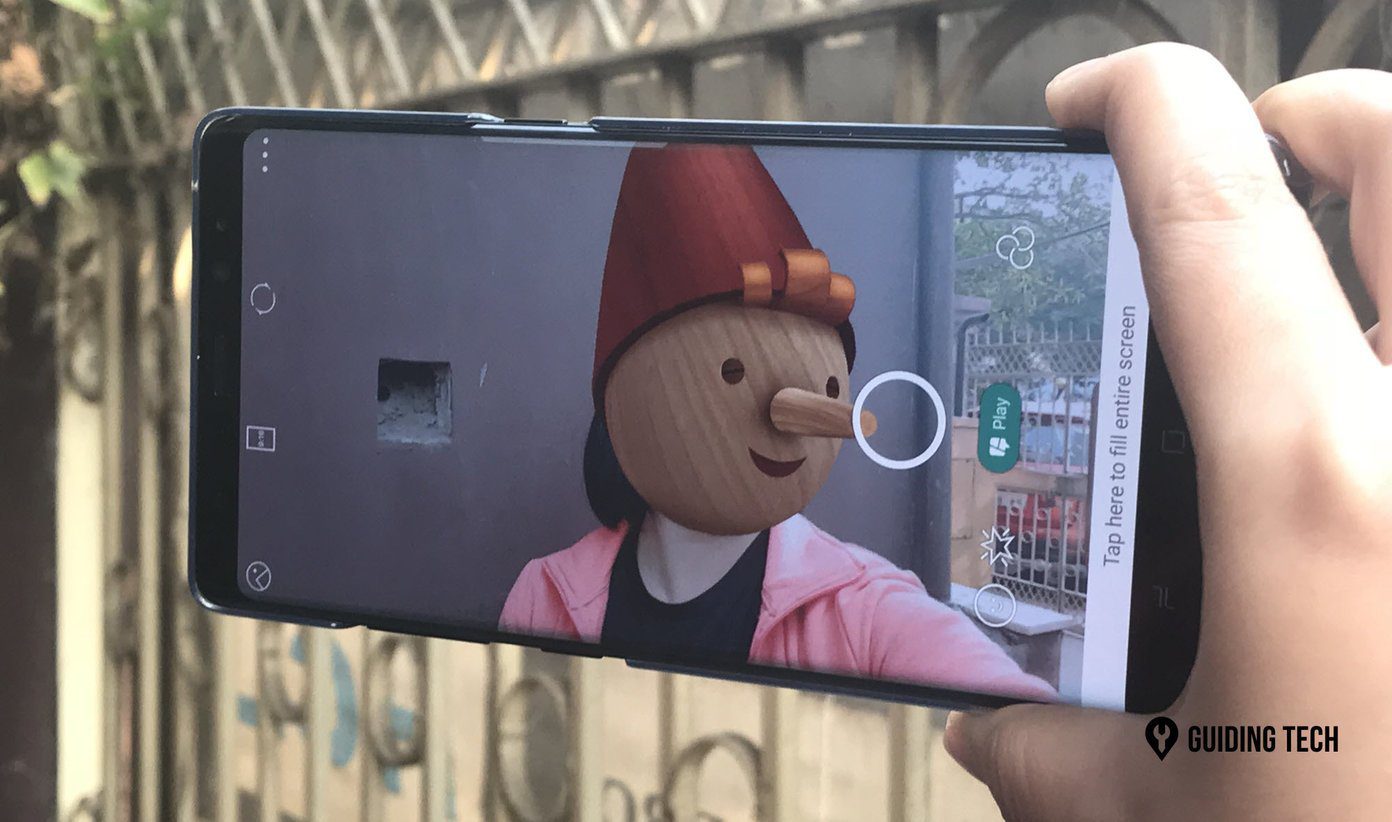
The algorithm picks up the compatible images on its own. This sort of left non-Pixel users in an odd place. Thankfully, Google’s Snapseed has some hidden tricks that let you create color pop photos just as easily. Before we begin, let’s see what Color Pop images are.
What is a Color Pop Image?
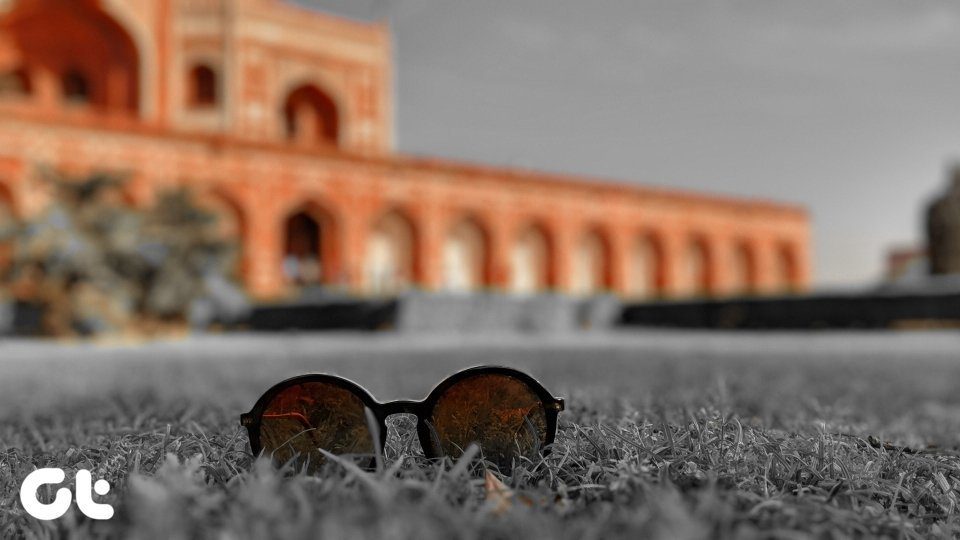
Color Pop is a filter which paints the subject in color, while the rest of the image gets a monochrome shade. This technique looks great on portrait photos and helps the subject pop out, and hence the name. The technique is somewhat similar to Color Splash. However, instead of a specific part, the whole subject is kept in focus sharply. Now, that we have established what Color Pop is, let’s see how to perform that in Snapseed. Download Snapseed
How to Make Color Pop Photos in Snapseed
Step 1: Once you have opened the image in Snapseed, tap on the Looks tab and select either the Pop or Accentuate filter. That will add a bit of saturation to the photo so that when you desaturate it later, the color won’t look dull. Step 2: Tap on the Tools tab and select Black & White from the menu. Select the Neutral tone and tap on Done (Tick icon at the upper-right corner). Now begins the real game. Step 3: Once you’ve saved the current changes, you’ll see an Undo icon next to the Information icon. That will bring up a sub-menu. Select View edits. Step 4: All the filters that you’ve applied to the current picture will show up on the bottom right corner. We aim to manually revert the Black & White filter from the selected area. So, tap on Black & White and select the Stacks Brush tool (middle icon). With the Black & White parameter set to 100, start by drawing a mask layer over your subject — the area will be denoted by red. Let me warn you that this is going to be a long and tedious process. But as they say, patience pays. And the result is truly worth it. The trick is to draw the mask as close as to the subject’s edge as possible. To do so, magnify the image multiple folds by pinching out. That also helps you work with a finer brush. Once you have outlined, fill in the insides. Do make sure not to leave blank spaces, even the tiniest bit. Step 4: Once you’re sure that you’ve drawn the mask as perfect as possible, tap on the Invert icon at the bottom ribbon. As suggestive of its name, it’ll invert the mask area, so that the Black & White filter applies to the selected area. Click on Done. Presto! You have a color pop image on your hands. Of course, the result won’t be perfect at the first try, but with time and practice, you’d be churning out color pop up photos in minutes. Pick up the method, whichever suits you and the image best. Here are some images where we created using Snapseed for Android.
Bonus Snapseed Trick: Make Black & Whites to Stand Out
You may have noticed that the standard Black & White tool gives the image a flat look. In short, the image loses the details as most of it is often washed white. Thus, the best bet is to combine a couple of editing tools to enhance the image and make it stand out. One of the best tools for this job is the HDR Scape under Tools. It has four presets designed for a variety of imagery. The idea is to apply this filter with a preset that is best for your image. Adjust the intensity by sliding right — 70 is the safe limit for most types of images. Once done, choose a Black & White filter. You’d notice that there’s a significant difference between the plain B&W filter and the tweaked version.
Give Your Images a Creative Upgrade!
That is how you can create color pop images in Snapseed. Though it requires time and patience to perfect those images and the results may not be like Google Photos’ AI magic. However, it’s a great place to start. Have you tried creating any Color Pop images? The above article may contain affiliate links which help support Guiding Tech. However, it does not affect our editorial integrity. The content remains unbiased and authentic.


