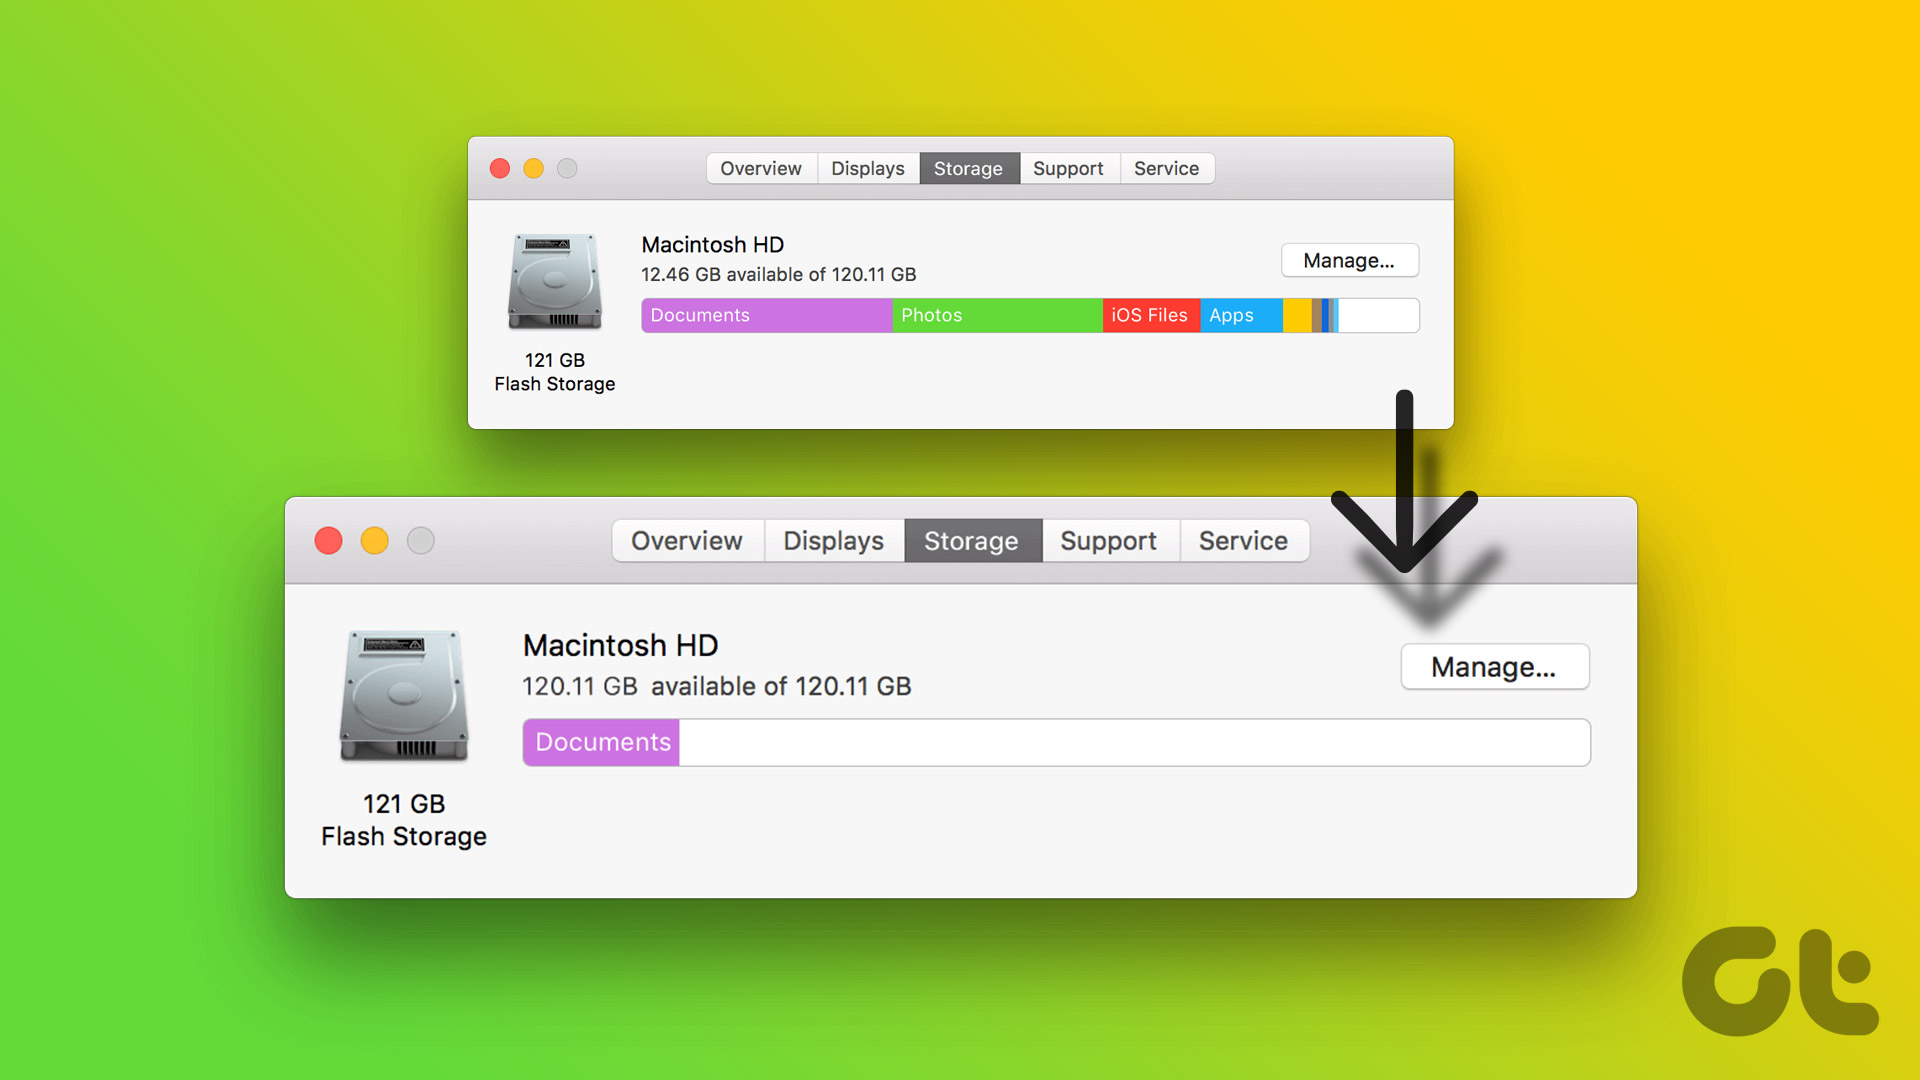
Dealing with less space on your Mac is never a desirable situation. You won’t want to frequently delete files and empty Bin to add new photos, videos, and documents to your Mac. Instead of moving relevant files to another SSD or external storage, use the steps below to free up space on your Mac using iCloud.
Check Storage on Your Mac
With macOS Ventura, Apple has completely revamped the System Preferences menu and calls it System Settings. The new System Settings menu resembles the iPhone and iPad app. Here’s how you can check the remaining storage on your Mac. Step 1: Click the Apple icon in the top left corner. Step 2: Open System Settings.
Step 3: Select General from the left sidebar. Step 4: Open the Storage menu.
Step 5: Check how much space you have left on your Mac. If you have insufficient storage on your Mac, free it up using the steps below.
Check Current iCloud Storage
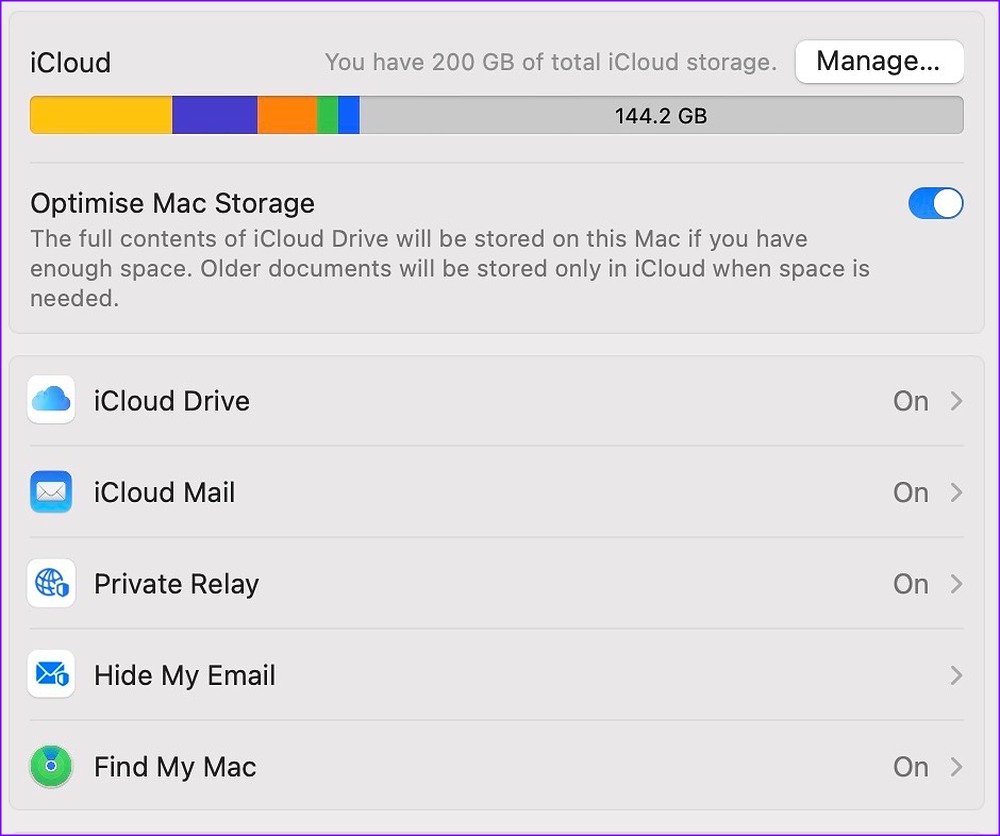
Before uploading your local Mac files to the iCloud platform, you’ll need to first check the remaining iCloud storage for your account. If you already have an iPhone or iPad, you might have less iCloud storage due to device backups, media uploads, app data, etc. Step 1: Open System Settings on your Mac (refer to the steps above). Step 2: Select your account at the top. Step 3: Open the ‘iCloud’ menu.
Step 4: Check a detailed iCloud storage breakdown for your account.
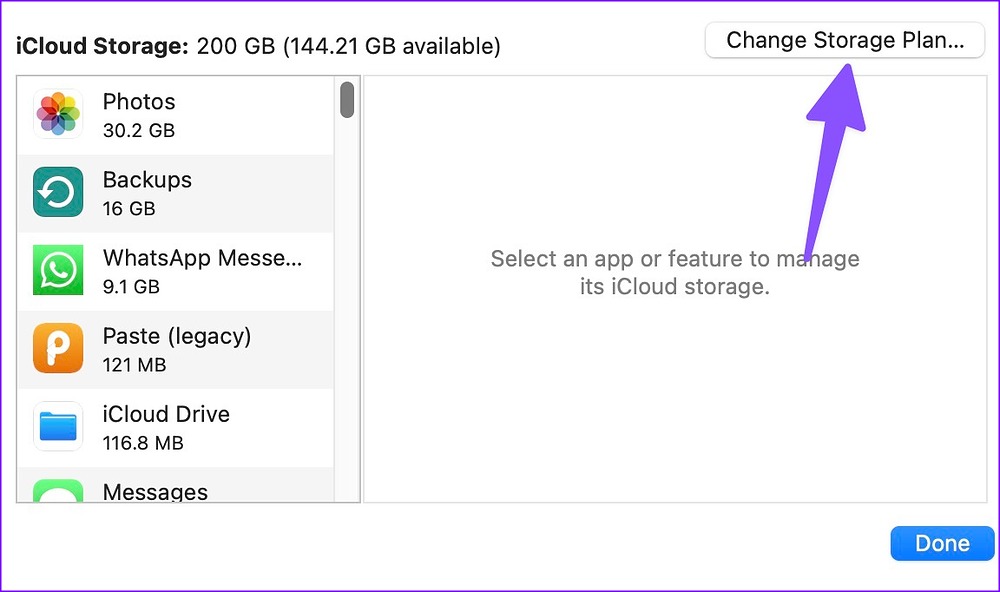
If you don’t have enough iCloud space, you’ll need to optimize it or subscribe to one of the higher plans. You can check our dedicated post if you want to free up iCloud storage on Mac. To purchase or upgrade to a higher iCloud plan, follow the steps below. Step 1: Head to the System Settings on Mac and open your profile (check the steps above). Step 2: Select iCloud. Step 3: Select Manage in the top right corner.
Step 4: Check the iCloud storage breakdown from the following menu. Select ‘Change Storage Plan’ at the top.
Step 5: You can purchase a higher iCloud+ or Apple One plan from the following menu. Select a relevant iCloud storage space and complete the purchase process.
Free Up Space on Mac Using iCloud
Now that you are aware of less space on your Mac and have a relevant iCloud plan to move your files go through the steps below to upload them. Step 1: Open the Finder app on Mac. Step 2: Select iCloud Drive under iCloud from the left sidebar.
Step 3: Create a new folder or open an existing one. Step 4: Press the Command + T keys to open another tab in the Finder app. Step 5: Drag and drop large files from your Mac to a relevant folder in iCloud Drive. You can move large files to the Mac desktop to upload them to the iCloud platform. Once you upload relevant files to iCloud, use the steps below to remove them from the Mac. Step 1: Open iCloud Drive in the Finder app (refer to the steps above). Step 2: Select your uploaded files or folders in iCloud.
Step 3: Right-click on them. Select ‘Remove Download’ from the context menu. iCloud will remove the local file from the Mac and keep the uploaded file visible in the Finder app. If you want to use the same files in the future, double-click on them or select ‘Download Now’ from the context menu.
Optimize Mac Storage
If you don’t want to manually upload photos and videos to iCloud, enable iCloud optimization from System Settings. Step 1: Open the Storage menu in Mac’s System Settings (check the steps above). Step 2: Select Optimize beside the ‘Store in iCloud’ menu.
The option stores all photos and videos in iCloud Photo Library and save space by keeping optimized versions of your Mac when storage space is needed.
Manage Your Mac Storage Like a Pro
After you upload relevant files to iCloud to save Mac space, you can use tags in the Finder app to organize it. Refer to our post to use tags in Mac’s Finder app. The above article may contain affiliate links which help support Guiding Tech. However, it does not affect our editorial integrity. The content remains unbiased and authentic.


