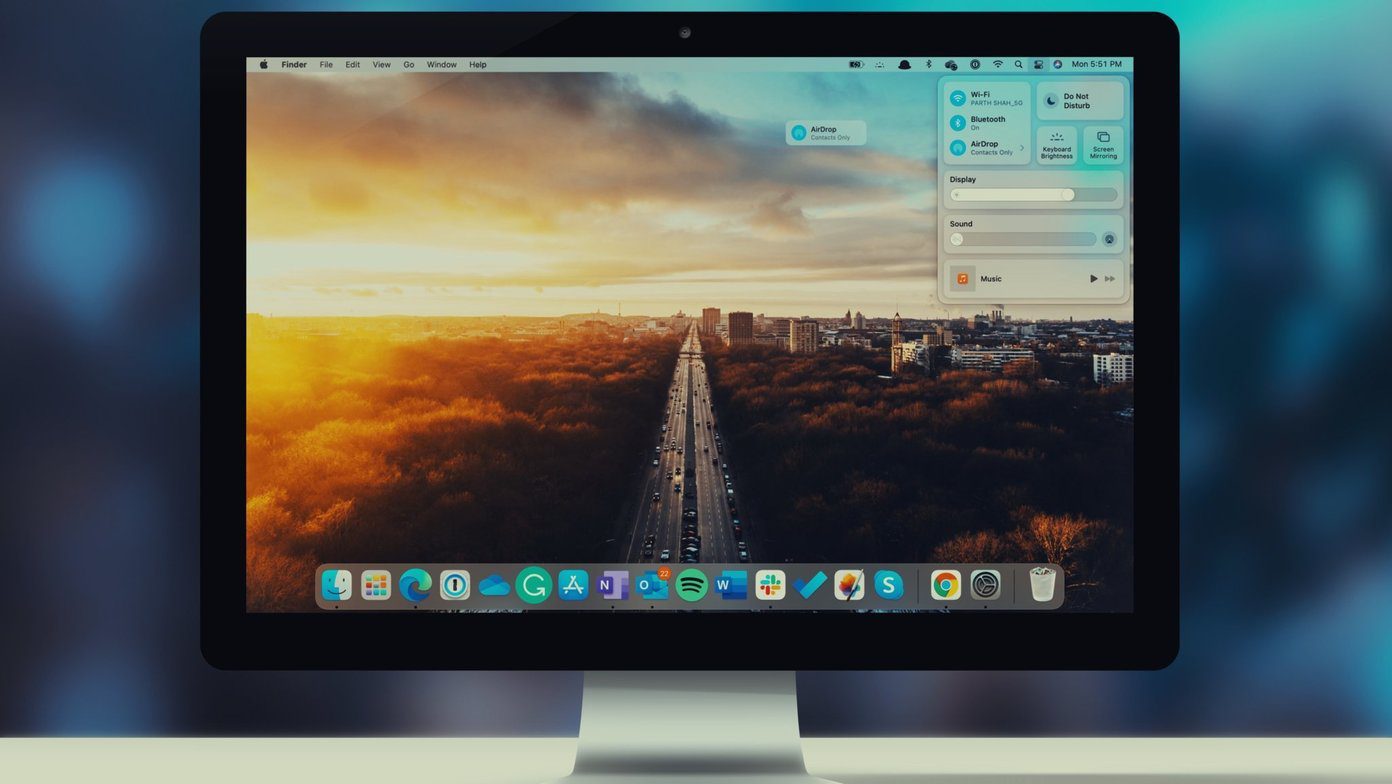
The Notification Center on Mac combines all the data from various apps and stores them in a single place. You can also add Apple’s built-in widgets or third-party ones with different sizes. You can even use Notification Center to turn on your Mac’s Do Not Disturb mode.
Access Notification Center on Mac
Notification Center lives on the right side of the Mac. There are two of ways to access it easily on Mac.
Go to the upper right corner of your Mac Menu bar and click on the date/time to open the menu.If you use a trackpad with your Mac, place two fingers near the right edge of the pad and swipe to the left to activate Notification Center. You can swipe right to close the menu. The trick works with third-party apps as well.
Customize Notification Center on Mac
It’s quite easy to make the mess out of the default Notification Center on Mac. The problem lies with the way macOS handles notifications. It will notify you about the incoming notifications, but macOS won’t dismiss them when you read them from the app. The notifications stay in the Center until you open them from the Notification Center. Notifications are grouped if you have multiple notifications from an app. For example, if you have News alerts active, the notifications for each news outlet are grouped, and if you click one, the grouping expands so you can see all the notifications. Simply click on the group notifications to expand it. Also, if you mouse over a notification, a Delete button appears in the lower-left that you can use to dismiss it.
Use System Preferences Menu
Similar to iOS, Apple allows you to customize notification type on Mac as well. If you use Outlook and Slack all day, you don’t need Notification Center to handle upcoming notifications. Follow the steps below to customize them from the System Preferences menu on Mac. Step 1: Use the Command + Space keys and open the Spotlight Search menu. Step 2: Type System Preferences and open the menu. Step 3: Go to Notifications > and select the app that you want to customize. Step 4: You can choose from None, Banners, or Alerts. Enable Badge icons. Or completely disable the Notification for the app.
Add or Remove Widgets From Notification Center
Widgets got a huge boost with the macOS Big Sur update. You can add, resize, or remove widgets from the notification center. Several third-party apps are already on board with the widget support and more app developers are adding widgets for their macOS apps. By default, you will see some of the default calendar and weather widgets in the notification panel. Follow the steps below to add more widgets to the Mac notification panel. Step 1: Open your Mac and tap on the day/time at the upper right corner. Step 2: Scroll down and click on Edit Widgets. Step 3: On the left, a new menu tray will open consisting of all the supported widgets for Mac. The widgets are divided into three sizes – Small, Medium, and Large. Select the relevant size and you will see the live preview of the widget on the screen. Step 4: Hover the mouse over the widget and you will see a live ‘+’ icon to add the widget to the notification panel. Step 5: Alternatively, you can simply drag and drop the widget to the notification panel. You can also use drag and drop to move around widgets in the Mac notification panel.
Remove Widgets from Notification Center
Removing widgets from Notification Center is fairly easy. Open the Notification Center and right-click (If using the mouse) or double-click on the trackpad. From the following pop-up menu, select Remove widget. You can also change the widget size from the same menu.
Manage Notifications Smartly
While Notifications Center received a face-lift, it takes a while to customize it. The best part is that you can also disable a certain options if you don’t plan to use them ever. That’s because the Notification Center has a potential to be utilized carefully to save time. So go ahead and customize the Notification Center experience on your Mac. Next up: Looking to optimize your Mac? Read the post below to learn about the top seven macOS apps to optimize your Mac. The above article may contain affiliate links which help support Guiding Tech. However, it does not affect our editorial integrity. The content remains unbiased and authentic.


