Well, both the images were shot in the same light, and all the other external conditions were same. The only difference is, the first one is a simple shot, while the second one is an HDR photo. The difference is quiet amazing, right? So let’s see what exactly HDR photography is and how to click these kind of images from your Android’s camera.
Understanding HDR photography
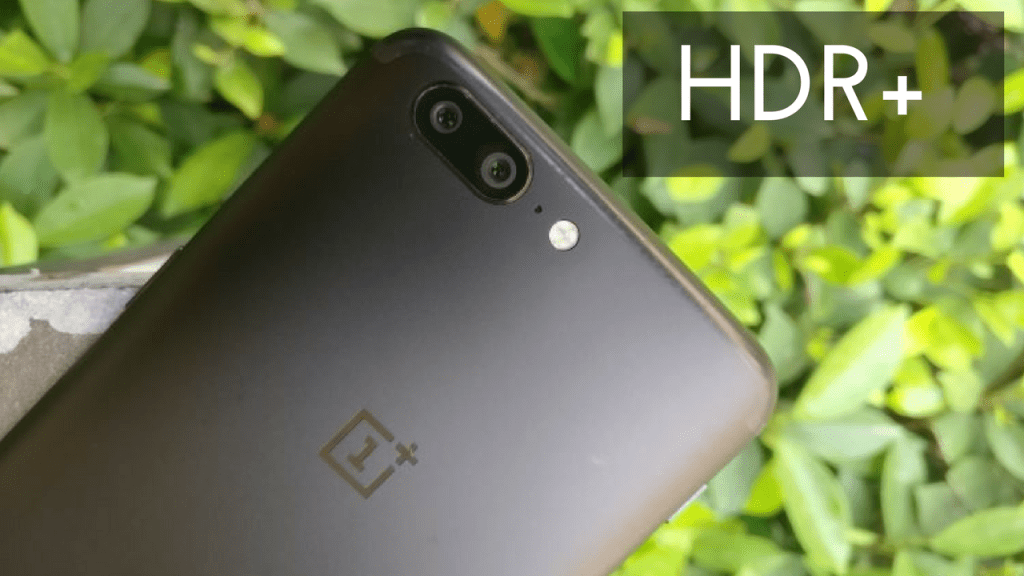
An HDR or High Dynamic Range photo in simple words is a method of taking photographs with elevated contrast and vivid color saturation. Basically, a typical HDR image is composed of 3 or more images, one image with a normal exposure and other two or more with a slight low and high exposure. The final image is the combination of all these images giving you a stunning, rich in color, HDR photo. Though it may seem a bit complicated (and it was, few years back with sophisticated SLR cameras) but today, with amazing technology at our fingertips, it’s no more a rocket science. All you need is an Android phone with a good landscape scene and decent light condition. There will be an app working in the background to take care of the rest.
Taking HDR photos on Android
Though there are many dedicated apps on the Play Store to take HDR photos on Android, all of them unfortunately are paid. It’s not that I hate paying money, but I always look for free options before spending my hard-earned money. Camera360 Ultimate is one such amazing application for Android that makes HDR photography a cakewalk and that too without a price tag. Camera360 is not a dedicated HDR app but an all-in-one camera replacement app for your Android device. With the ability to take photographs with different effects and settings, it’s much better than any stock camera app out there. So let’s see how to click an HDR photo. After you download and install the app on your device, launch the application. You will be able to see through your phone’s camera on the screen. On the right-hand side, touch the magic wand button to bring up the effects option. Here, select the HDR mode and shoot the image. Make sure, while shooting the image, that your hand’s rock steady. As the camera takes multiple images at a different exposure level, even a small vibration can cause blurry images. You can use the app stabilizer feature to take a stable shot. After the shot, you will be asked to adjust some filters of the HDR, try them to see the preview and then save the final image. That’s all, you have just taken an HDR photo on your Android! Simple enough, I guess. So do try it out and share your experience with us. Furthermore, don’t forget to read our review of Instagram on Android and how you can take stunning retro images using it. Remember photography is all about a perfect scene and a skilled hand (or an app, as in this case), nothing else. The above article may contain affiliate links which help support Guiding Tech. However, it does not affect our editorial integrity. The content remains unbiased and authentic.